BENRI / GUIDES
Make AI illustrations with transparent backgrounds
Compare background-removal services, manual editing and image-generation APIs, then check a transparent PNG in the design where you will use it.
Compare the edge result and choose a method
To place an AI-generated character or icon over a video, banner or game screen, you need an image with a transparent background. You can remove the background from an existing image or request transparency when generating a new one.
For an AI illustration with a solid-color background, start with BENRI Background Remover. It handles background color mixed into the subject’s outline as well as the flat background itself. Other removal services, manual erasing and image-generation APIs are also options.
When a character or logo is placed on another background, color left around the outline can become visible. Our comparison examined whether background color remained at the boundary. After screening 19 applications, six tools were compared on 100 AI illustrations with magenta backgrounds. BENRI had the highest boundary-background removal rate in that comparison.
Scroll sideways to view the table →
| Application | Boundary-removal rating | Images with no visible background residue |
|---|
| BENRI (BMCM-v1) | ★★★★★ | 97 / 100 |
| Photoroom | ★★★☆☆ | 59 / 100 |
| Canva | ★★★☆☆ | 48 / 100 |
| Photoshop Express | ★★☆☆☆ | 26 / 100 |
| Adobe Photoshop 27.9 | ★☆☆☆☆ | 16 / 100 |
| Microsoft Designer | ★☆☆☆☆ | 2 / 100 |
The stars convert the no-residue rate into a scale for this article: 80% or more is five stars, 60% or more is four, 40% or more is three, 20% or more is two, and below 20% is one. They are not user-review scores. See the comparison conditions and results (PDF).
Choose for the source image and the work you want to do
Scroll sideways to view the table →
| Method | Useful when | What you need |
|---|
| Background-removal services | Remove the background from an existing image automatically | A generated source image |
| Manual erasing | Remove the background gradually by hand | The original image and an image editor |
| Image-generation API | Create new assets or include generation in a program | Access to a supported API and a prompt |
You can combine methods, such as automatic removal followed by manual touch-ups.
BENRI Background Remover: remove a solid-color background ↗
Create a transparent asset with BENRI
BENRI removes the background from illustrations generated with a solid backdrop. It fits characters, crests and icons where you can choose the background color during generation.
BENRI also processes edges where the subject and background colors mix. This helps with color fringes that can remain when only the flat background is removed. Process the whole image first, then inspect the areas that need attention before tracing every edge by hand.
Prepare and process the illustration
- Choose a solid background color that does not appear along the subject’s outline. Specify that the background should contain no patterns or gradients. If the outline itself contains magenta, choose another distinct color.
- Open the generated image in Background Remover and run removal. Standard processing works well for magenta backgrounds. Background Remover Pro can produce cleaner results for other background colors.
- Inspect fine details for transparency errors and save the result.
Example prompt for an image whose background you will remove later:
The images below show the source and transparent PNG, followed by a comparison of the same sword outline across six applications. Open the comparison image to inspect the results at full size. See the study conditions and results and Background Remover introduction.
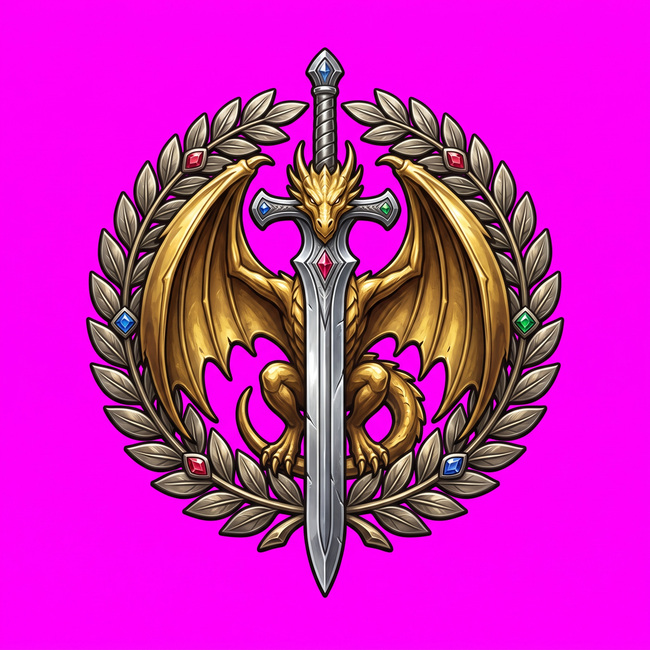 The original AI illustration before removal.
 The transparent PNG after background removal.
 Compare the remaining background color along the outline. Labels in the comparison image are in Japanese.
BENRI Background Remover: remove the image background ↗
Try another background-removal service
remove.bg: upload an image and remove the background
remove.bg automatically removes the background from an uploaded image. Choose the image, inspect the processed result and save the version with a transparent background.
Adobe Express: remove the background and continue editing
Adobe Express background removal removes an image’s background. Export a PNG with transparency or continue editing the design that will use the asset. When saving, check that the background has not been filled with a color.
Erase the background by hand
An image editor’s eraser lets you remove the background gradually and choose exactly where to erase. Fine outlines and complex shapes require careful work. The following example uses GIMP.
- Keep the original file and open a working copy. If the image layer has no alpha channel—the information used for transparency—add one through Layer → Transparency → Add Alpha Channel.
- Select the eraser, use a large brush and remove background areas away from the subject. Use 100% opacity for fully transparent areas; leave the area close to the subject for the next step.
- Zoom in, reduce the brush size and adjust its hardness. Erase around the outline and small gaps. Undo if you remove a line you need. Soft brushes leave partially transparent edges, so also check for leftover background color.
- Export as PNG without placing a white or other background layer underneath the transparent areas. Save the working document separately if you plan to continue editing.
See GIMP’s official eraser instructions and guide to retaining transparency.
Request transparency through an image-generation API
When creating a new illustration, an image-generation API that supports transparent output is another option. An API lets a program request an image. Once the API environment is ready, you can specify the prompt and output settings together.
Describe the subject and ask the model not to draw scenery or a floor. Also select transparency in the API’s output settings. A prompt that says “transparent” is not a substitute for checking whether the selected model can output an image with an alpha channel.
Example prompt:
For example, when checked for this guide, transparent output for GPT Image 2 was available in preview through OpenAI’s image-generation API. Request a transparent background and receive PNG or WebP. See the official output settings.
Request settings can look like the following; a configured API environment is required separately.
{
  "model": "gpt-image-2",
  "prompt": "One golden dragon crest. Transparent background, with no floor or checkerboard.",
  "background": "transparent",
  "output_format": "png"
}
Even when transparency is requested, the result may contain opaque background areas, a drawn checkerboard or colored edges. Place the image over a different background color to inspect it. Check both the settings and whether the result works as a transparent asset.
Gemini’s published transparency settings
As checked on 6 September 2026, the public specification for Gemini’s native image-generation API did not list a dedicated transparent-background parameter. Its ImageConfig documentation described aspect ratio and image size, but no transparency option. Asking for transparency in a prompt is different from specifying alpha output in the API.
For a Gemini illustration, we recommend generating a solid-color background and removing it with BENRI. This separates generation from background removal instead of repeatedly adjusting the way the background is drawn.
BENRI Background Remover: make a generated image transparent ↗
Inspect the details and save
Before saving, inspect the image for transparency errors:
- Does a different background color show through the transparent areas?
- Are there leftovers or missing areas around hair, thin lines or the inside of letters?
- Does the original background color remain along the outline?
Correct the boundary color or finish it by hand where needed. If you can generate another source image, consider a solid background color that is easier to distinguish from the subject.
BENRI Background Remover: try your solid-background illustration ↗
Choose for the condition of the image
If a logo or character has a solid-color background, start with BENRI Background Remover. For a complex scene such as a photograph, consider a service that selects the subject or an image editor’s manual mask. Manual adjustment can help preserve small decorations. If you have not generated the image yet, an API with transparent output is another option; check its current formats, pricing and data handling.
Prepare a source image suited to transparency
Use a solid background color that differs from the subject and retain the original file. White clothing against a white backdrop, for example, makes it easier to remove parts you wanted to keep. If you can redraw or regenerate the background, improving the source may reduce the need for repeated corrections to a processed image.
From opening the image to placing it in a design
- Open the image in BENRI and remove the background. Standard processing works well for magenta backgrounds; Pro can produce cleaner removal with other background colors.
- Check fine details for transparency errors and save.
- Place the transparent PNG over the banner or video where it will be used.
What the comparison figure measures
In our comparison study, BENRI Background Remover achieved a boundary-background removal rate of 97%: 97 of 100 images had no visible background residue at the boundary.
When removal needs more work
If only the edge retains color, follow the related guide to boundary adjustment. If part of the subject is missing, work from the original with a manual mask. Check the fine details, save the transparent PNG and use the downloaded image in your project.
Fix colored fringes after removing a background